前置安装
1.Node.js (nodejs.org)(Node.js 版本需不低于 10.13,建议使用 Node.js 12.0 及以上版本)
3.淘宝镜像(非必要)npm config set registry https://registry.npm.taobao.org
用了淘宝镜像可以更快下载资源包。
使用npm config get registry来查看是否配置完成。
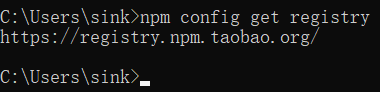
显示地址说明配置完成。
4.安装hexo
Hexo官网地址(更详细的安装配置等可以看官方文档)
使用npm install hexo-cli -g可将hexo全局配置。
使用npx hexo可以来查看hexo是否安装成功。
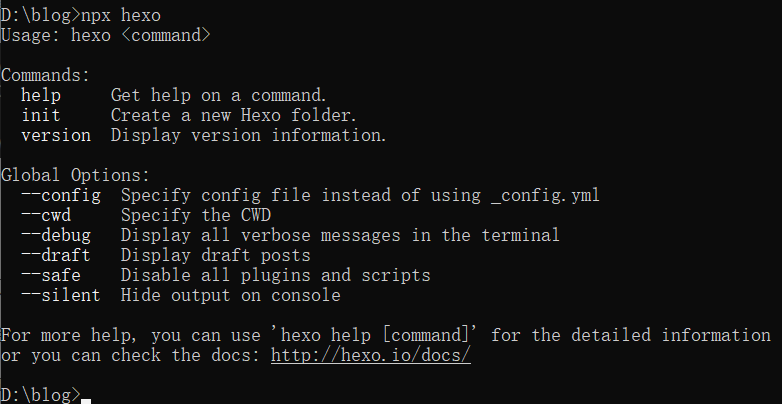
出现相关命令则安装成功。
hexo初始化
到任意磁盘位置创建一个文件夹并打开cmd使用hexo init命令对目标文件夹初始化(这里以D:\blog为例)

检查文件夹是否有以下几种文件:
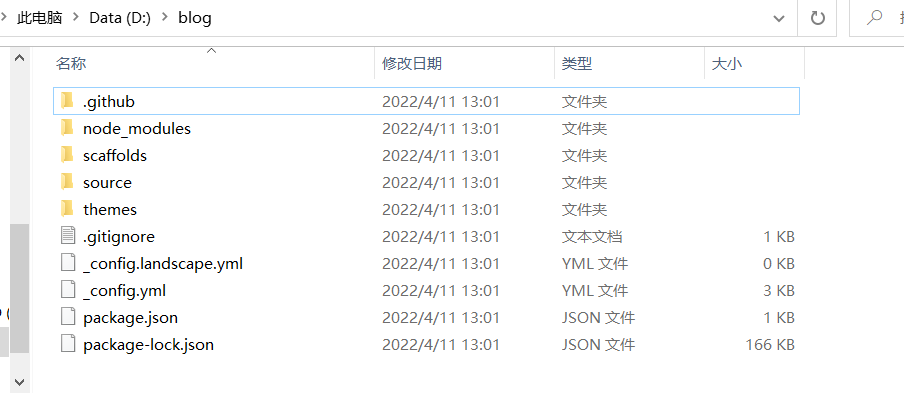
没有报错则初始化成功。(如果有问题大部分是node.js版本或git未安装导致)
在控制台使用hexo s可以在本地查看blog效果如何,如果有页面显示说明已成功安装了hexo。
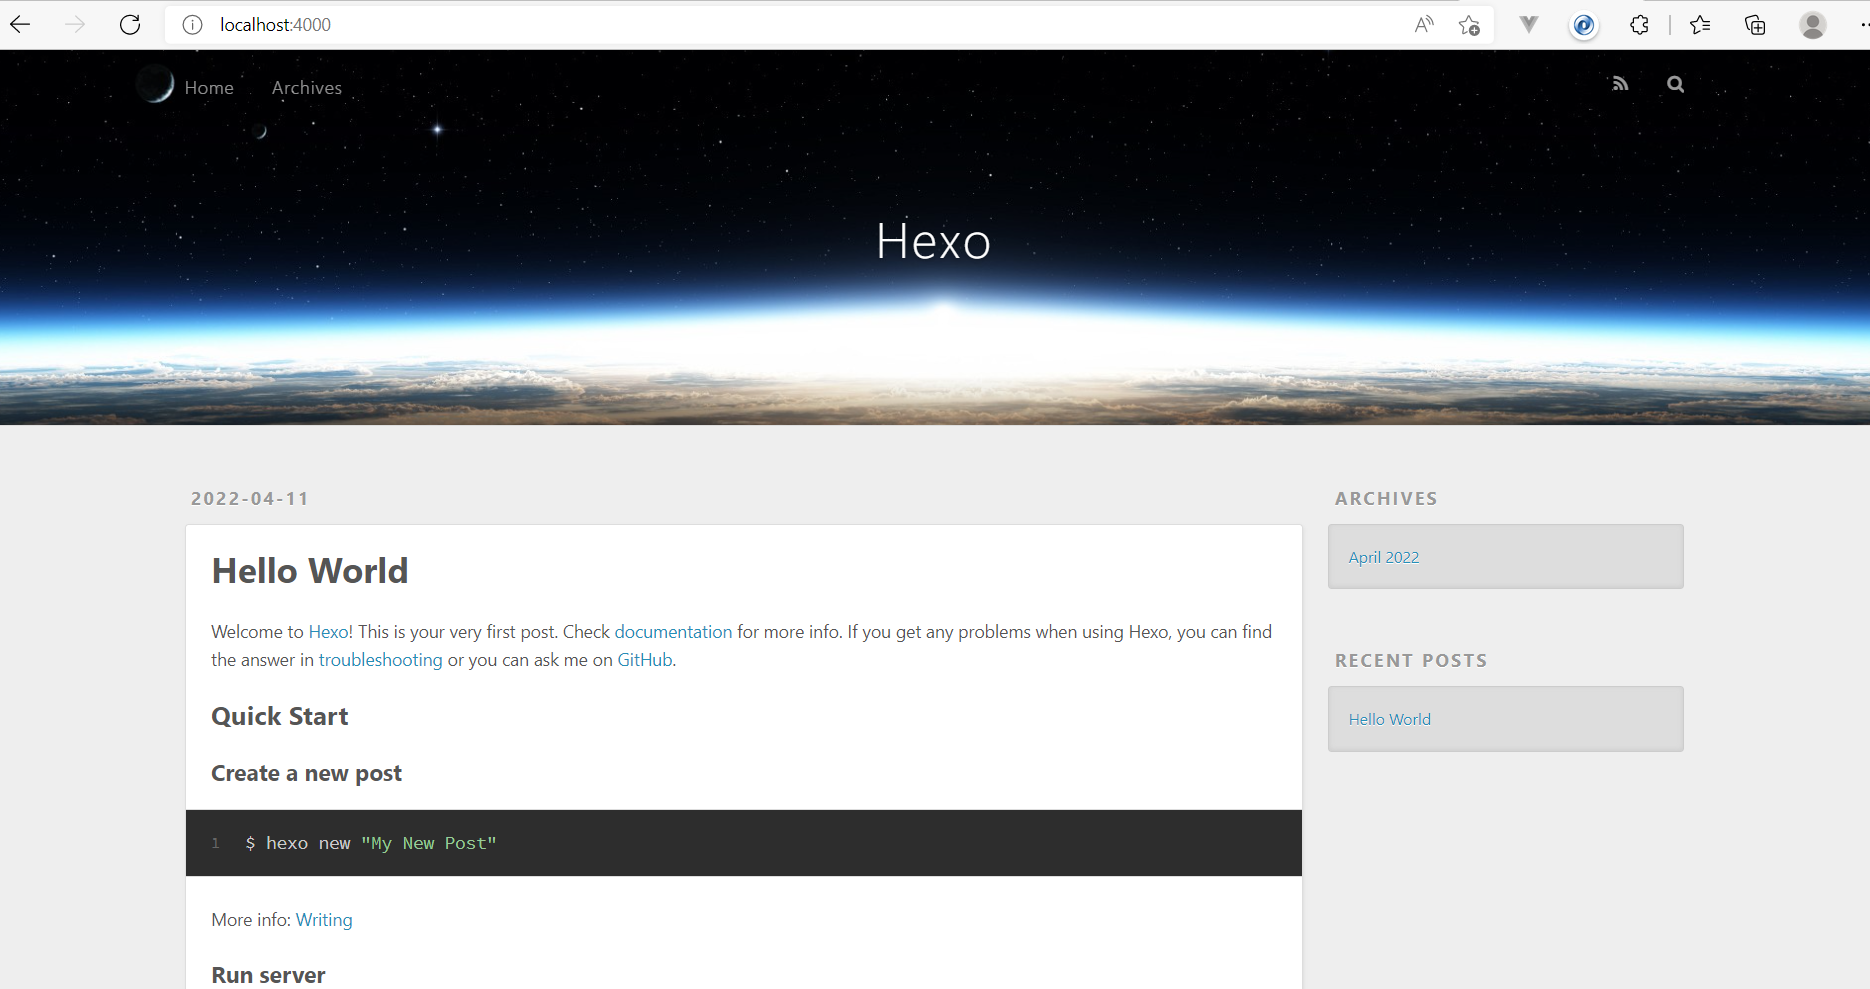
在cmd页面使用ctrl+c可以结束本地端口运行。
hexo配置
这里主要先搭建github仓库远程上传代码,先在git将仓库建好。
进入github首页点右上角sign in登录,然后在Repositories中new一个新仓库
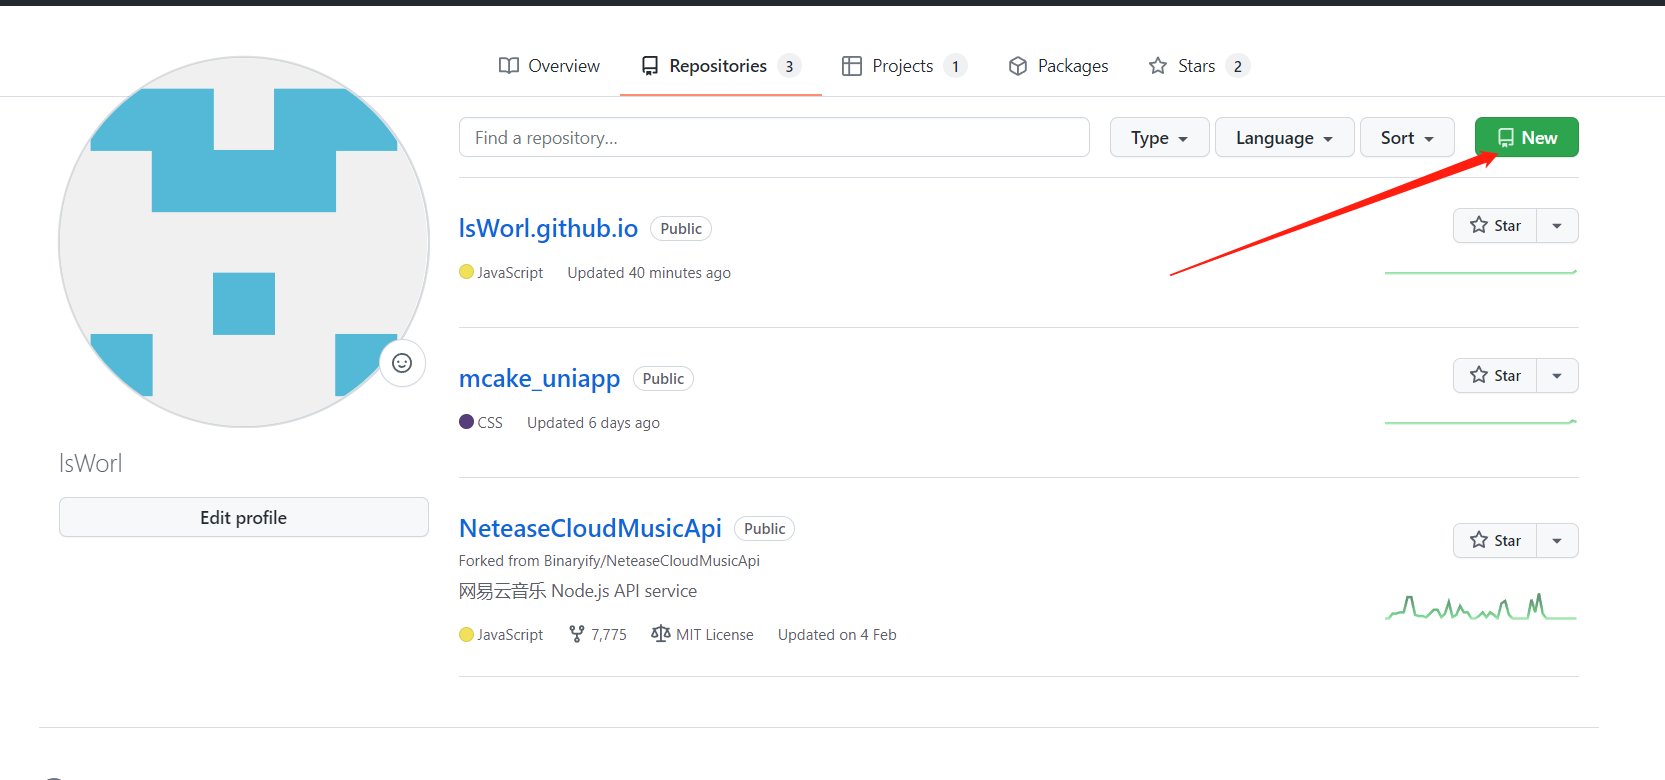
Repository name 以自己的github账号名.github.io来命名,没有其他要求点击create respository创建仓库即可。
将自己仓库的HTTPS地址复制下来(因为我已经建过blog仓库这里就没以github账号名.github.io来命名了,可以看上一张图的第一个仓库来作为参考)
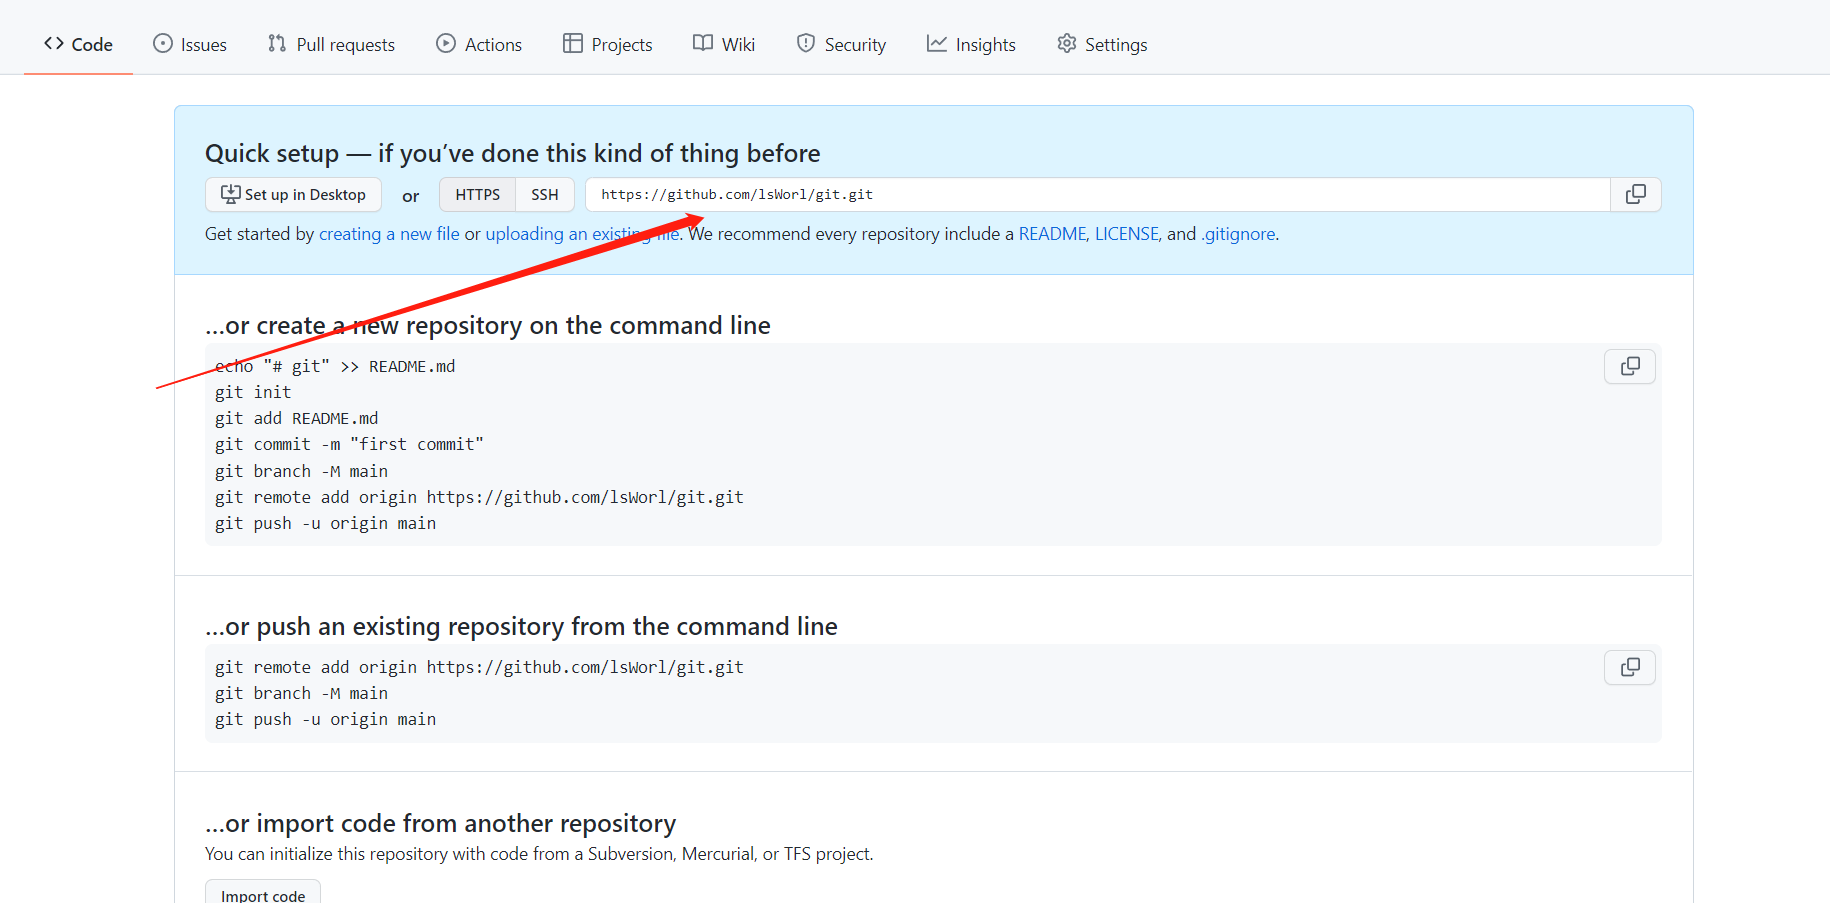
仓库建完成后在cmd中使用npm install hexo-deployer-git --save来安装插件。
然后相关配置需要打开_config.yml文件,详细信息需要看文档进行配置。
这里先配置Deployment(位置在最底下)
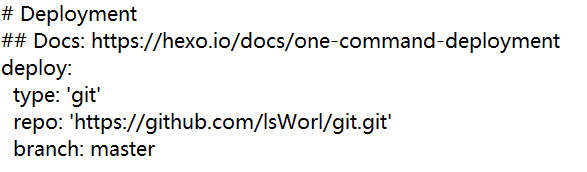
repo放刚刚复制的github仓库地址,保存后在自己文件夹cmd使用hexo clean清除缓存文件(db.json)和已生成静态文件(public),后使用hexo g生成静态文件。(最好在每次上传仓库前重复以上两个步骤)
然后hexo d来将本地部署到github中
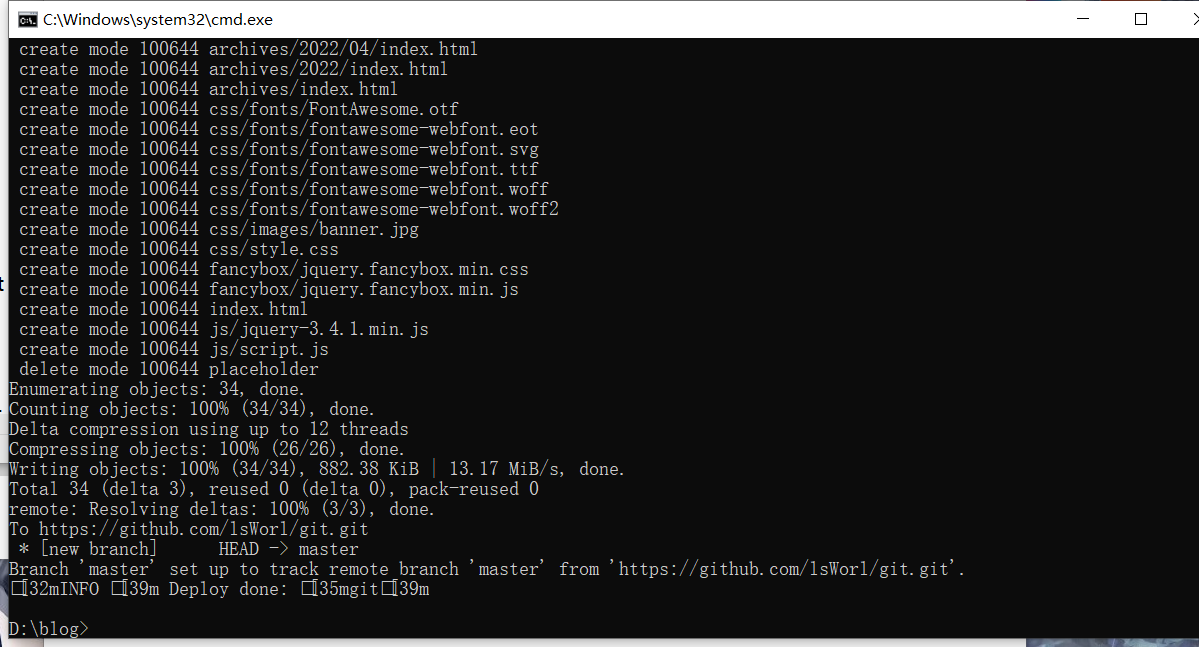
出现自己github仓库地址后,刷新网页。
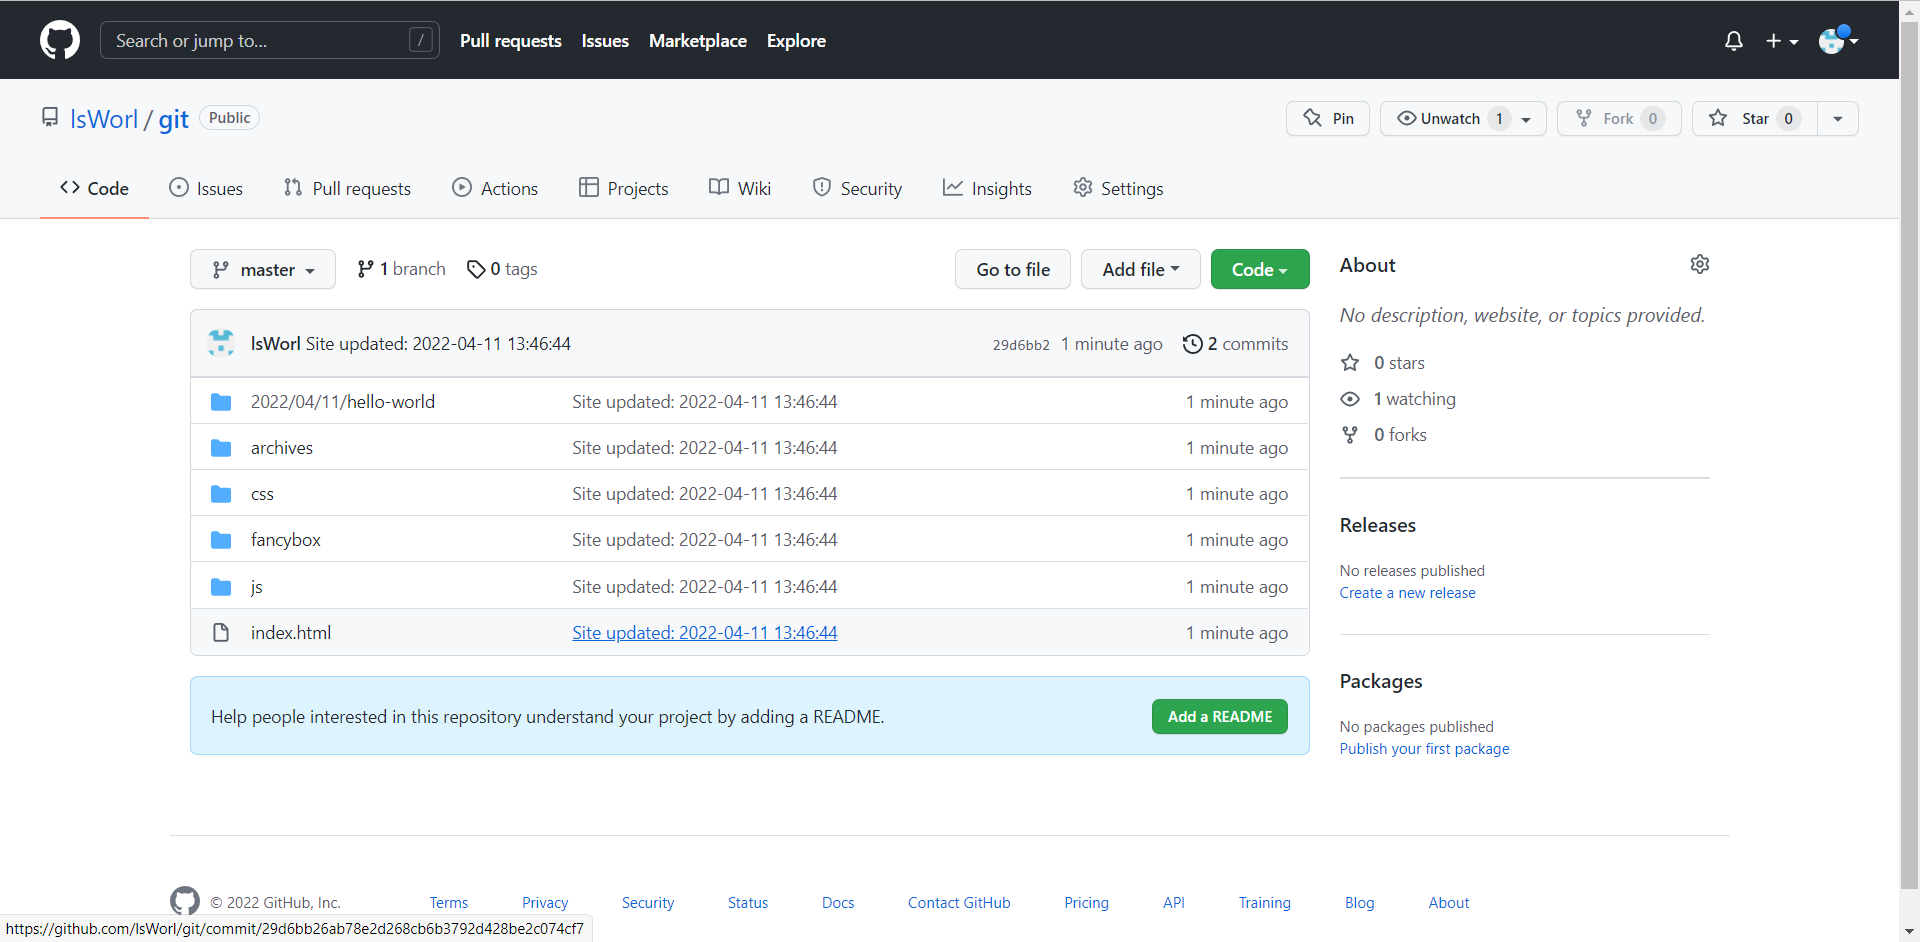
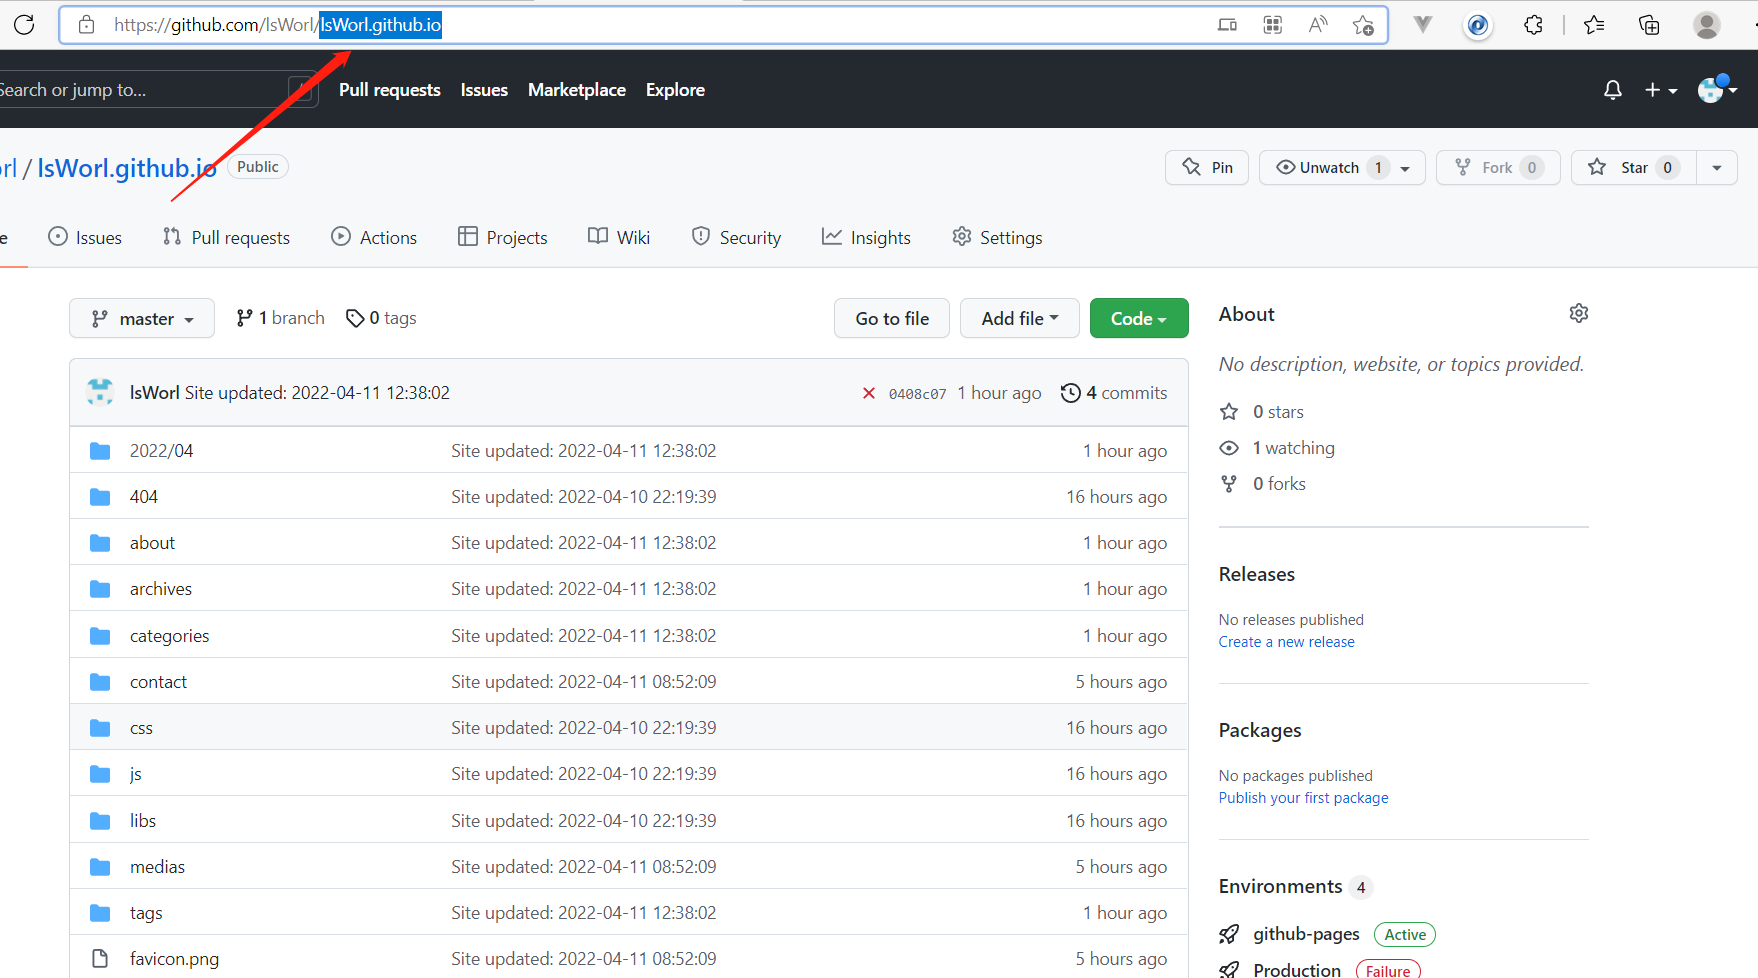
出现文件说明上传成功,可以通过标蓝的地址名来进行线上访问(不过由于在国内有时候会访问不上,可以Netlify等网络托管平台来进行布置)
(这里我是以我原先布置的blog来进行展示)
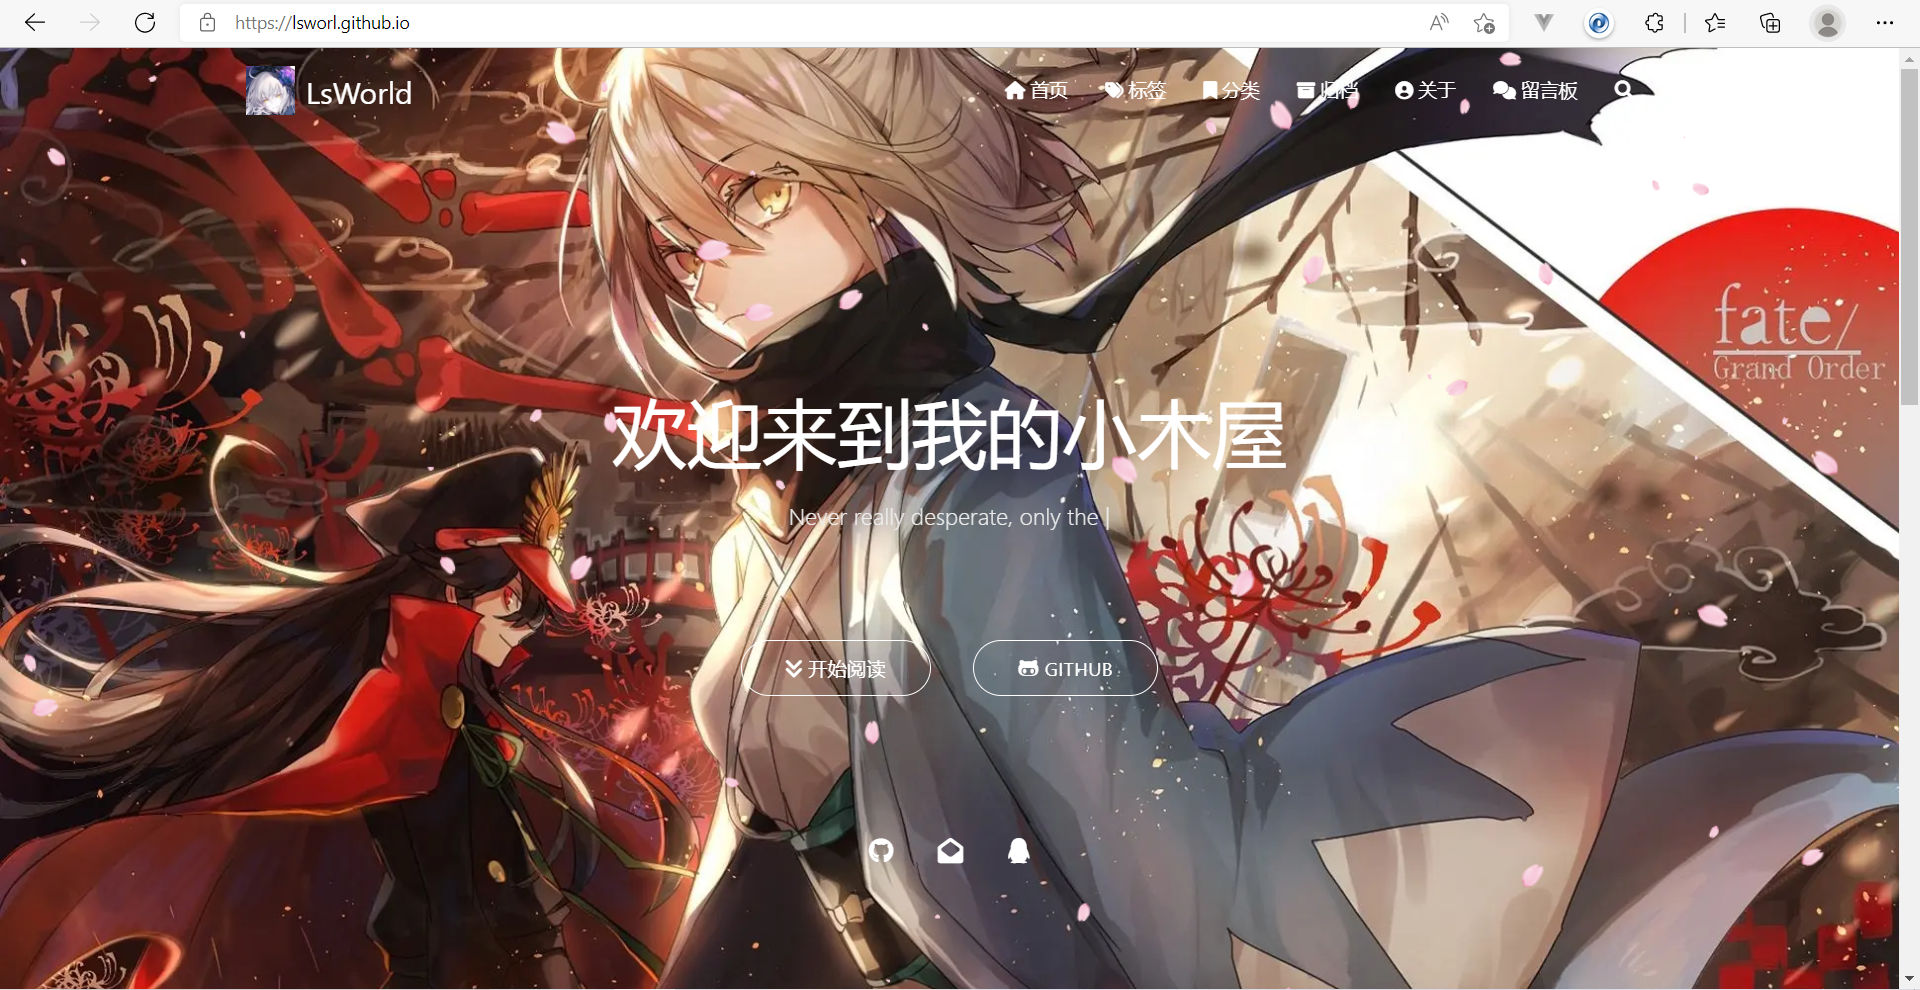
看来类似这个页面就是已经部署成功了。
配置主题(这里以matery主题为例)
在自己blog文件夹的themes路径下下输入git clone https://github.com/blinkfox/hexo-theme-matery.git从github上clone项目到themes文件夹中

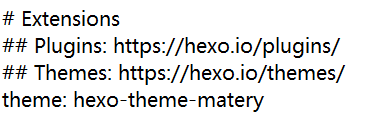
主题配置在源文件夹_config.yml文件的theme中。
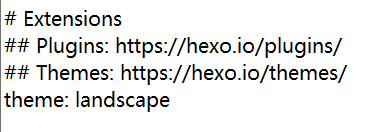
将landscape替换成要更换的主题,即hexo-theme-matery
然后在cmd使用hexo s来进行本地查看是否生效
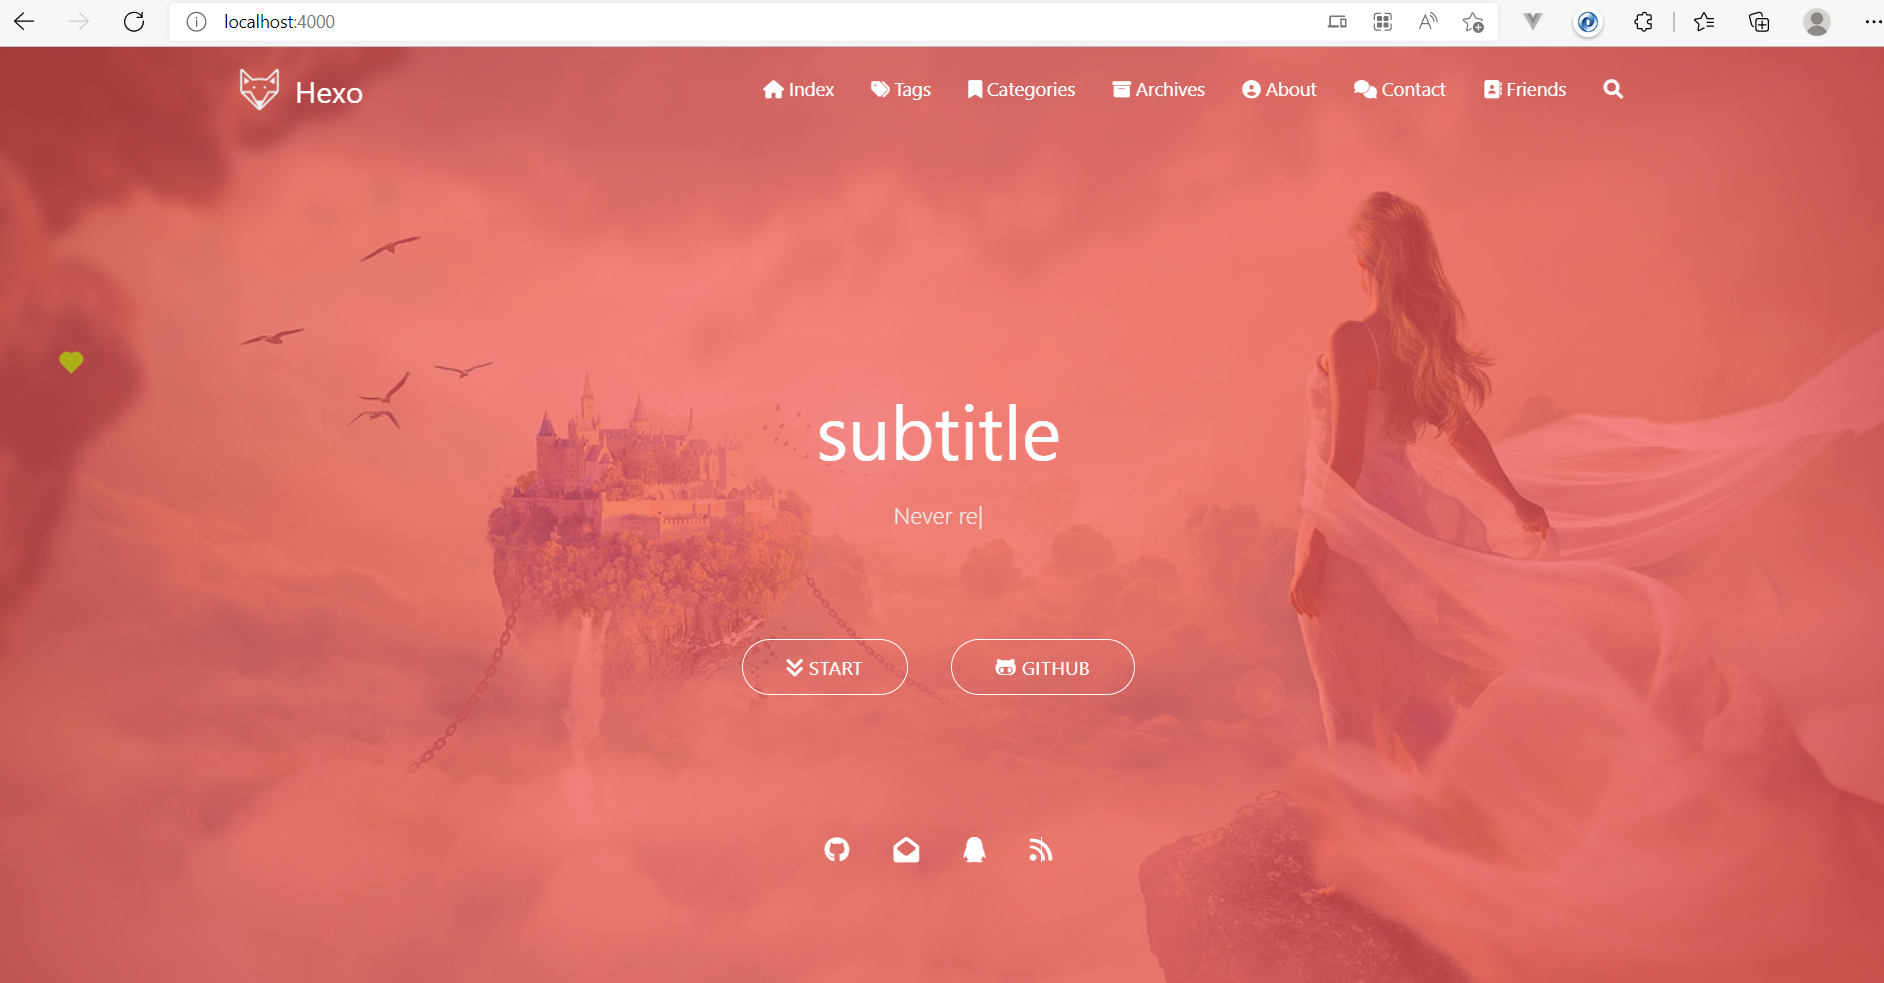
发现页面更换了就说明已经使用了主题,相关更多的配置可以在hexo-theme-matery的作者文档中进行查看,也可以去源作者blinkfox中了解更多!